
Finally! We start our TestMace closed beta. This article is going to be the first in the series of articles about our product, its interface, its main features and benefits. Since we are still at the development stage, there might be some differences in the product shown in the article. Let’s start!
Your First Launch
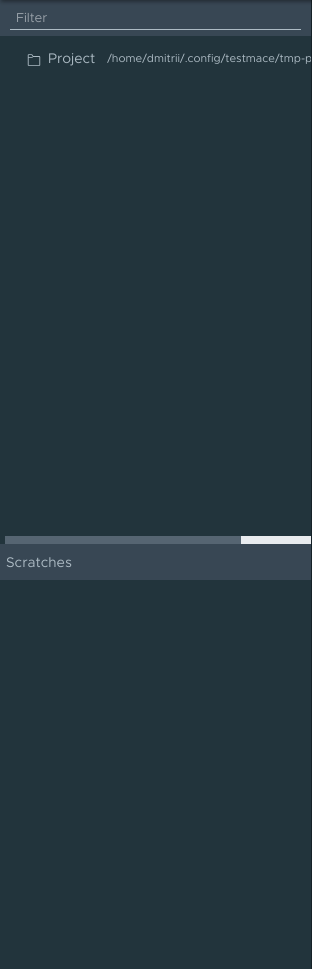
Launching the product the first time, you will see:

Let’s look at each interface part closely.
You can see a toolbar at the top of the screen. So far you can do the following:

- Undo and Redo your actions. At the moment all actions on changing projects and nodes are supported (see below).
- Work with cookies via the Cookies Dialog.
- Configure and choose your environment.
The main interface of the application is divided into two parts – a sidebar and a workspace. The sidebar has the top and bottom sections:
The top section is intended for working with the current project.
The project is a hierarchical set of nodes that are connected physically and logically within one directory. We’ll provide more details on working on the project in the next article.
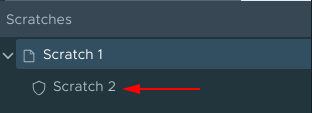
There is also the Scratches panel on the sidebar, where temporary (or “quick”) user requests are saved.
And the final part of the interface – workspace – is right in the middle of the screen. Now it’s empty, but let’s create our first request to make it look better.
Node Types
A node is an entry in the scratches list or any element of the project tree. There are several node types:
- RequestStep. This is a node that you can use to send a request. It can have only one Assertion node as a child element.
- Assertion. This one is used for writing tests. It can be a child node only for a RequestStep node.
- Folder. It allows to group Folder and RequestStep nodes under it.
- Project. This is a root node, that is created automatically when you start a new project. It is functionally identical to a Folder node.
In Scratches you can create only RequestStep and Assertion nodes, while you can add any node types to the project and build hierarchical structure of any complexity. Moreover, using Folder nodes, you can even create request scenarios and test them via Assertion. This will be described below.
Our First Request
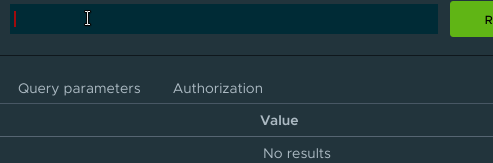
To create a request you need to click on +, that is right under the toolbar:

Then you’ll see the request configuration interface, and a new entry will be added to the Scratches panel:
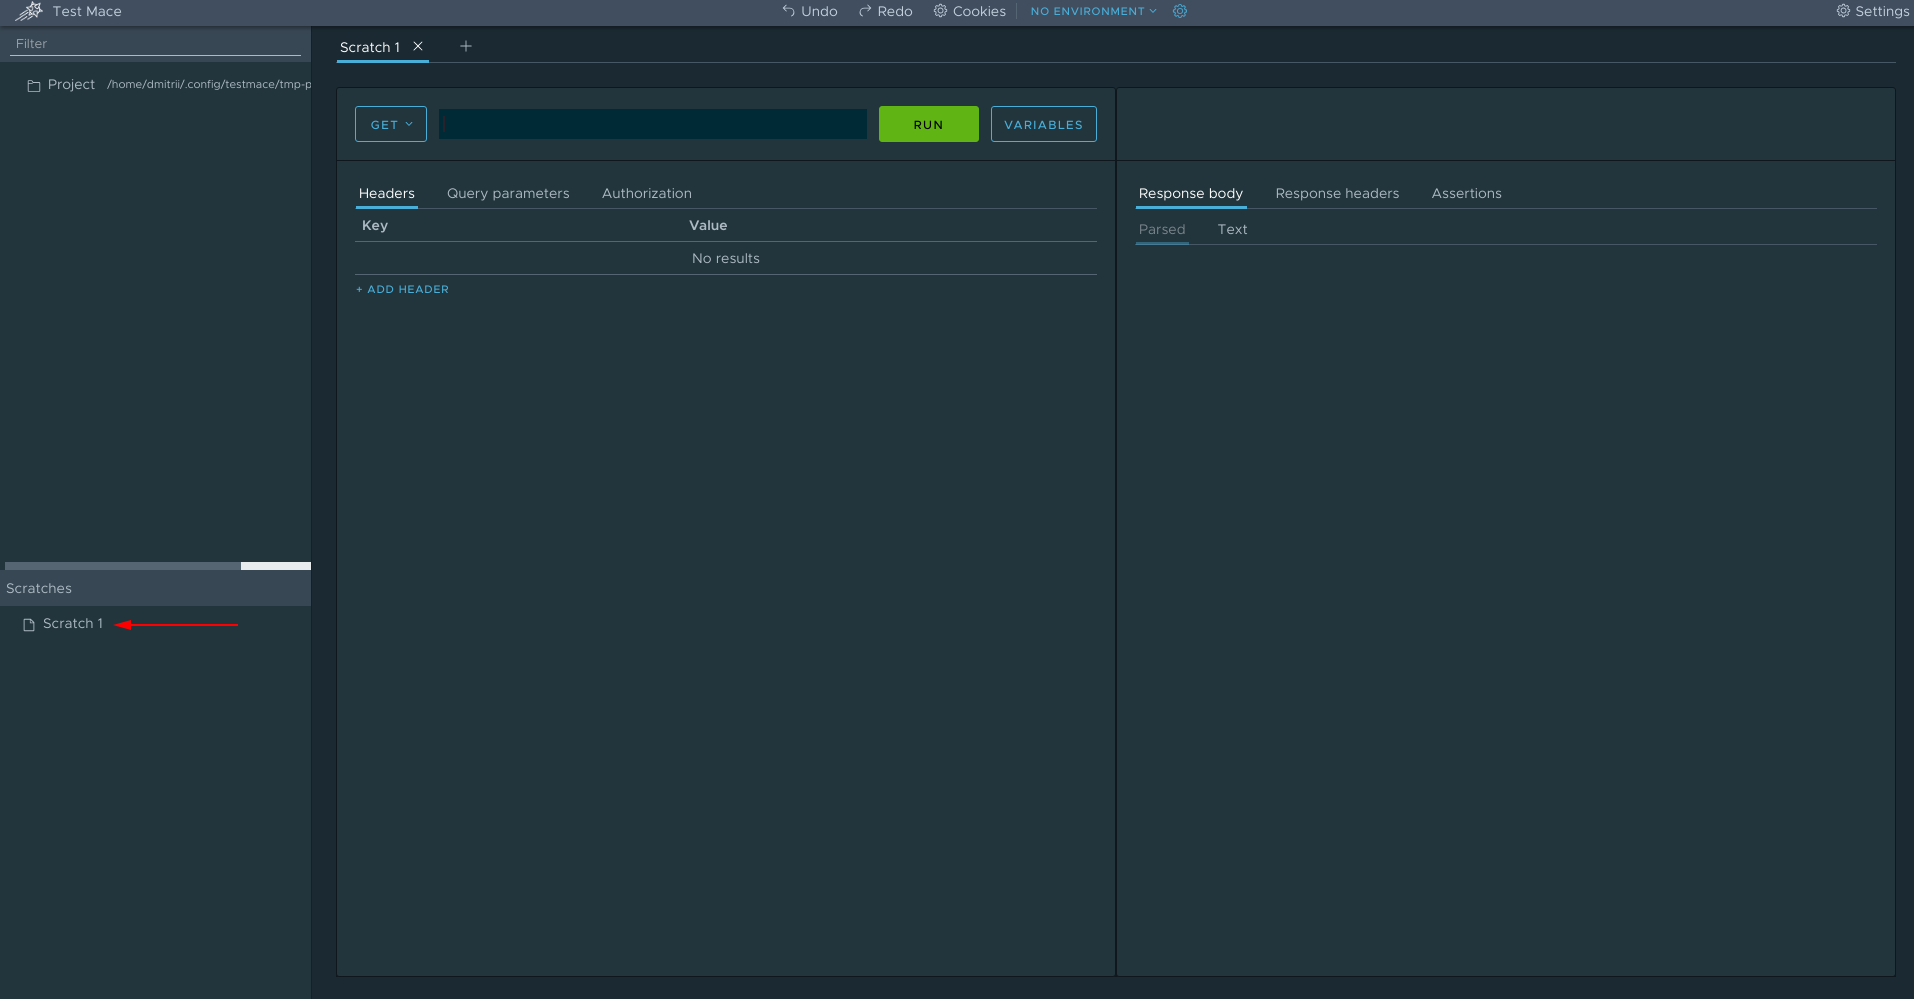
Congratulations, you’ve just created a draft request! Now we only need to configure it. The TestMace request configuration interface is quite similar to one of other HTTP clients, so there’s no need to go into it now. Just note that the interface is visually divided into two parts: one for request configuration and another for viewing response results.
Let’s send a request. I use https://next.json-generator.com for testing, since it helps to create different JSON structures and enable access to them from the outside. Now, as we usually do, let’s say hello to this world and create a JSON like that:
{

     "action": "Hello",

     "who": "World"

}
Create a link for it. I have this one https://next.json-generator.com/api/json/get/EJvQVEVGL Then paste it to the URL field and push the RUN button. The result should be the following:
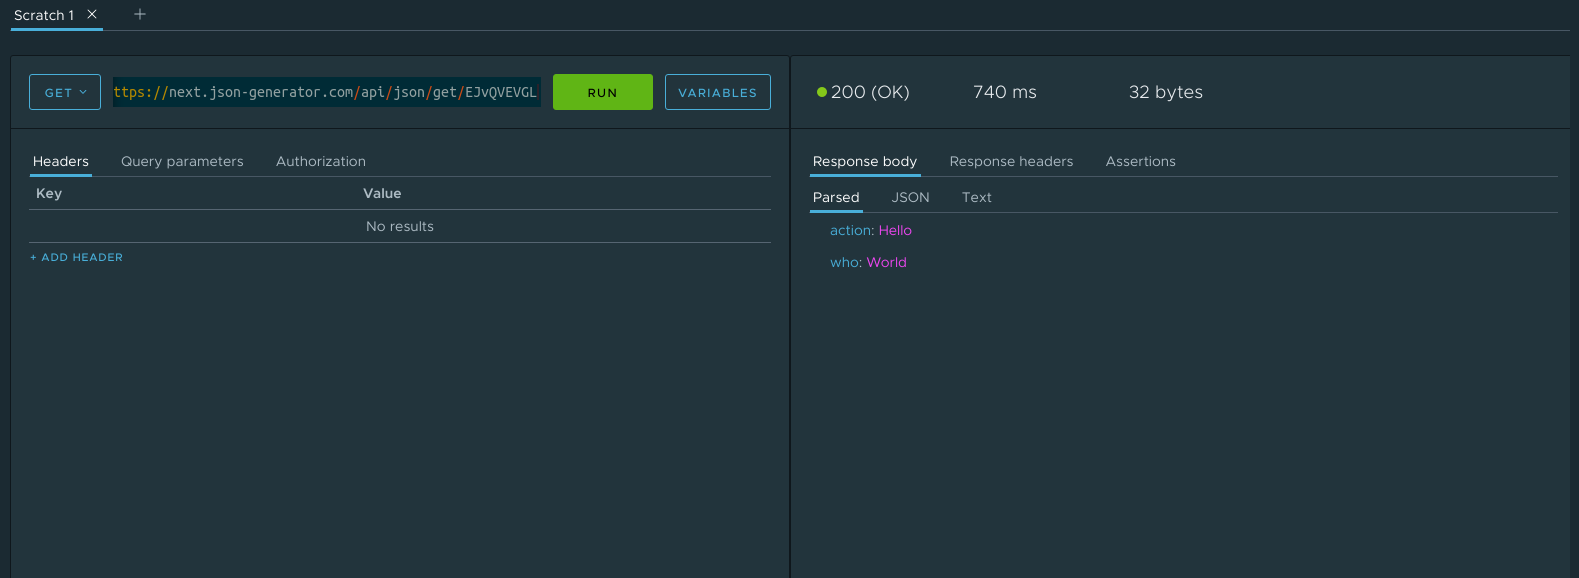
The app should say the request was successful and display brief statistics on the request execution time and response size. In the response panel you can see parsed and text (with or without highlighting) responses.
Variables
The Variables section is a key-value storage for storing and reusing some data. It is often used for removing code duplicates and improving readability: The greetingUrl variable says more than just the line https://next.json-generator.com/api/json/get/EJvQVEVGL for sure.
Variables mechanism is very well integrated to all application parts and has several features:
- Variables can store strings, arrays or objects.
- Variables are defined for each node and are inherited from parent nodes.
- Variables’ values can refer to other variables.
- Default variables names start with $. There are the following default variables:
- $parent – a reference to a parent node
- $prevStep – a reference to the previous node within a Folder node
- $nextStep – a reference to the next node within a Folder node
- $env – a reference to the environment variables (in terms of our application)
- $response (only for RequestStep and its children) – a reference to a response from the server.
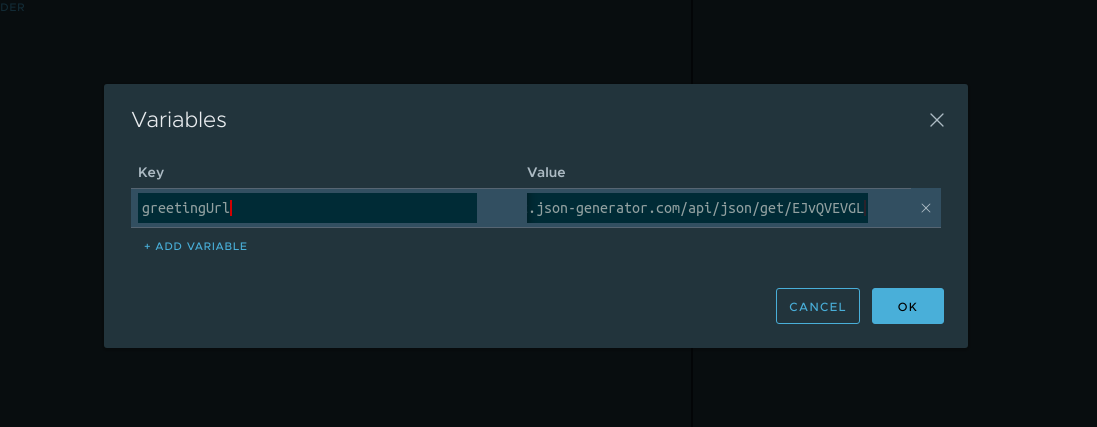
There is the Variables button in every node interface, that opens the variables definition dialog.
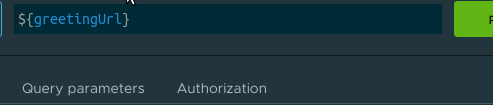
It’s time we put all that into practice! First, we get back to our hello-world request and try to put the URL into a variable. As you remember, the URL is https://next.json-generator.com/api/json/get/EJvQVEVGL. Now open the variables configuration dialog and add a variable named greetingUrl having our URL as a value. This is going to look like this:
Click OK and change the URL to our new variable. The syntax is: ${variableName}. In this case we’ll get:

Please note that the autocomplete feature is available for variables. This is how it works:
Besides, you can check what value your variable has at the moment. You just have to point to the variable!
Sending the request one more time, we can make sure that the URL value is successfully inserted from the variable.
Assertion Node
As mentioned above, this node is used for writing tests and can only be a child of a RequestStep node. There are two ways to add an Assertion node to your project:
- Right-click on the parent node in the sidebar
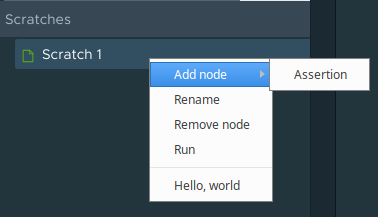
- In Assertions tab on the response panel
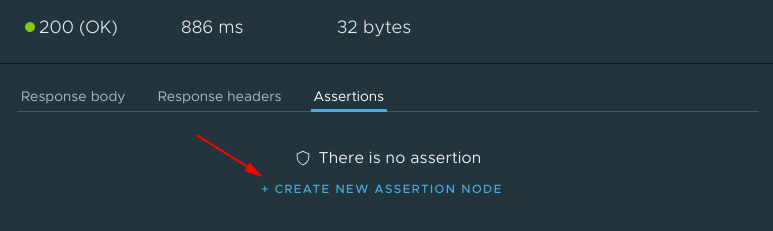
We’ll go with the second option. Click CREATE NEW ASSERTION NODE and an Assertion node will be added as a child node, and the interface will be changed to the add-assertion interface.

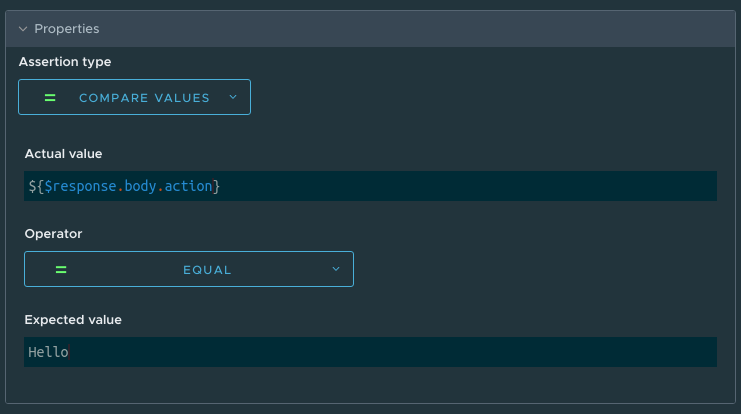
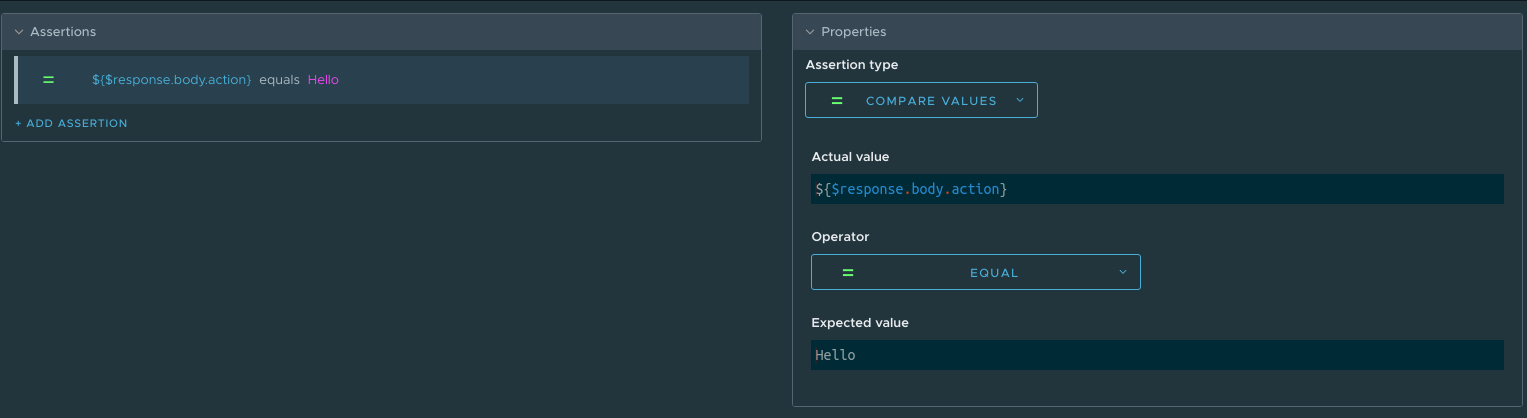
Assertion in the assertion node is just a conditional check. Let’s suppose we need to check if the server responds “Hello” in the action field. So far the assertion list is empty, let’s add our first test. Click on ADD ASSERTION and you’ll see the Assertion node interface. There is a template for an assertion:
Let’s have a closer look at the interface. Each assertion has a type. There are 4 assertion types:
- Compare values – it simply compares two values. We have several comparison operators: “equal to”, “not equal to”, “greater than”, “greater than or equal to”, “less than”, “less than or equal to”.
- Contains value – checks if a substring is present in a string.
- XPath – checks if there is a certain value in XML via selectors.
- JavaScript assertion – a random JavaScript script that returns true on success and false on failure.
As you can see all inputs use variables mechanism as well.
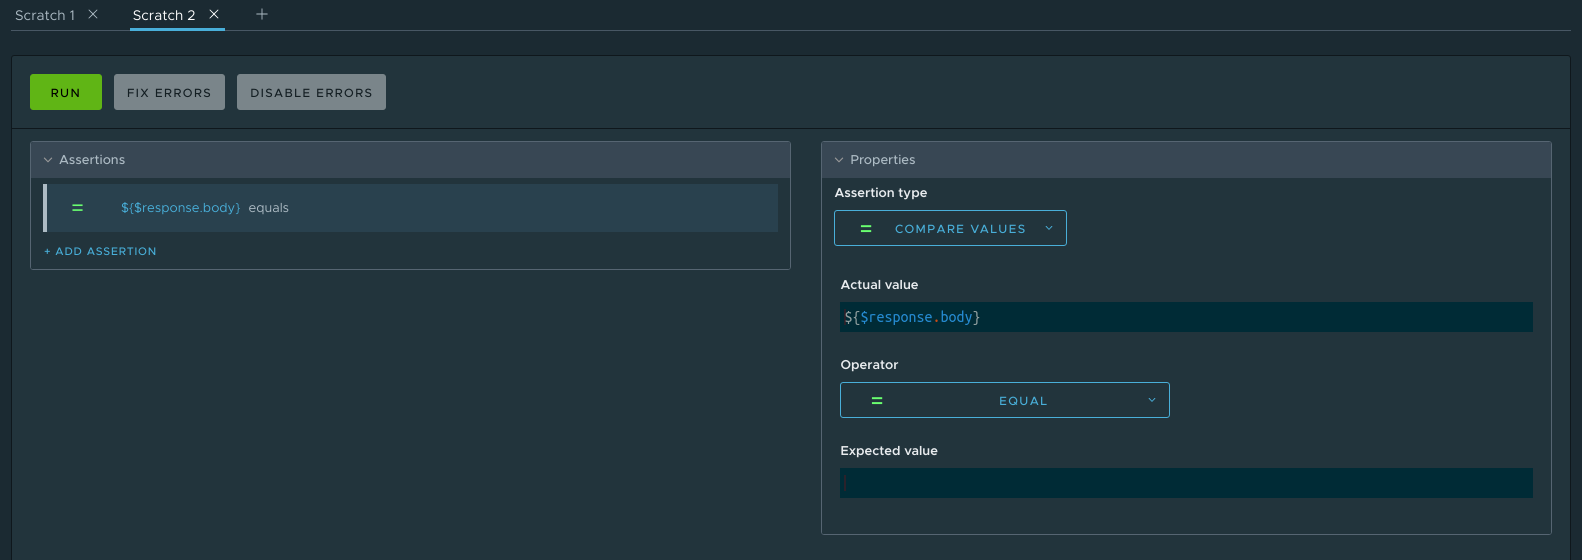
Okay, let’s get back to our little project. Action field value can be received by response using response.body.action. We expect to receive the value “Hello”. So our assertion looks like that:
Fine. Click RUN for a test run. If it is successful, our assertion will be highlighted in green, if not – in red. If you do everything right, you’ll definitely see green color.
TestMace can also correct errors. Don’t you believe in magic? Just watch those hands 😉 Let’s change “Hello” in the expected value field to “Bye”, for example. After the run the system says that the values are not equal:

As you might have noticed, the Disable Errors and Fix Errors buttons are active (the same happens when you point to the assertion):
- Disable Errors disables the assertion, so it will not be executed in the following runs.
- Fix Errors fixes errors. Fixing errors behaviour depends on the chosen assertion type, and sometimes to fix error is not possible.
Click the Fix Errors button… and voila! The value has been transfered from response to expected value. If you run it again, the test will be successful.

In conclusion, I’d like to show you one more nice feature, that allows to quickly create assertions. In TestMace you can create an assertion right from a received response. Just right click on the response field and choose an appropriate assertion from the context menu.
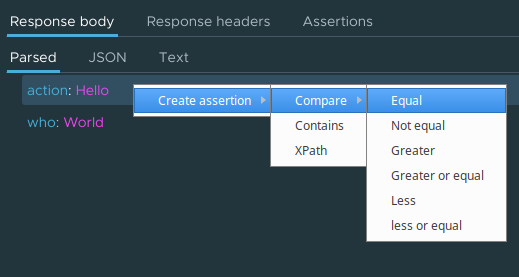
Then the fully configured assertion is created and you just have to click the RUN button.
Conclusion
In this article we described the main features of the interface, as well as configured a request and tested it. However, that is just a tiny piece of all that TestMace can do. We’ll focus on another features in the next articles. Stay tuned 🙂